Overview
VoltDelta customers have the option to blacklist an inbound originating Calling Line Identifier (CLI) number (i.e., for abusive callers, spam calls from a particular number flooding the system, etc.)
This article outlines the steps on how to blacklist an inbound originating CLI number.
Process
-
Open Oasis Management Portal (OMP).
-
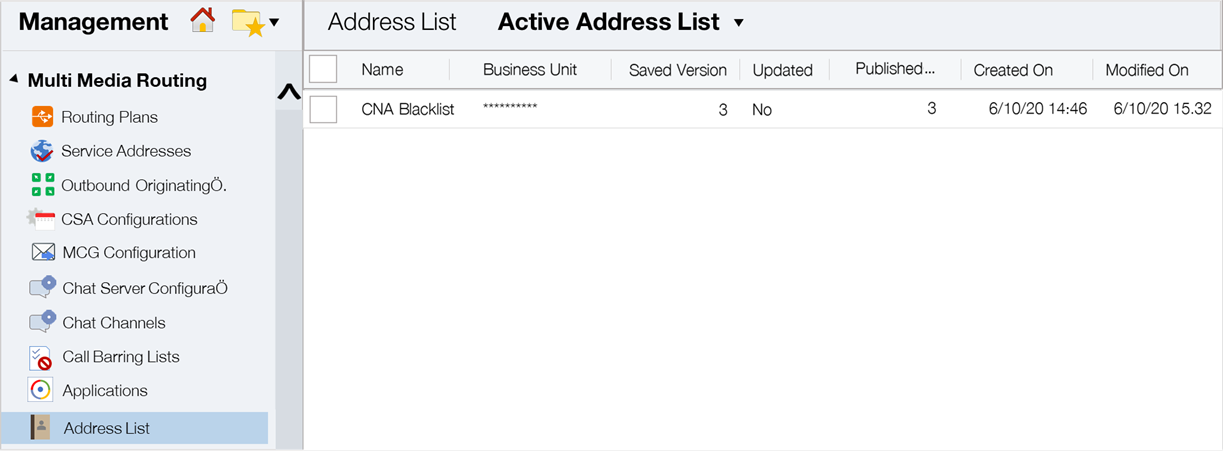
Navigate to Management > Multi Media Routing > Address Lists.
-
Add a new address list. If you are required to provide a relevant name for the address list, you can provide a list of specific sites, e.g., MIND Blacklist, TRBL Blacklist, etc.
In the following examples, we will use CNA Blacklist as the name of the address list:
-
Click on the address list (CNA Blacklist) to add new entries for generic blacklisting.
-
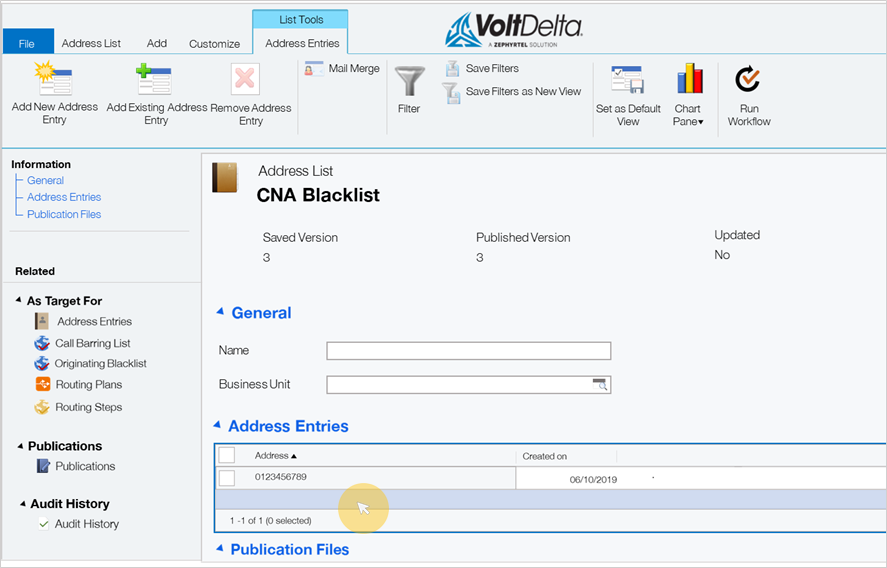
On the CNA Blacklist page, click on a blank field in the Address Entries section to enable the Add New Address Entry option:
-
Provide the CLI information in the Address field and click the Save & Close icon:
-
Confirm if your newly-created entry appears in the Address Entries list and click the Save button.
-
After saving the entry, the Publish option should appear. Click the option to publish the new entry.
-
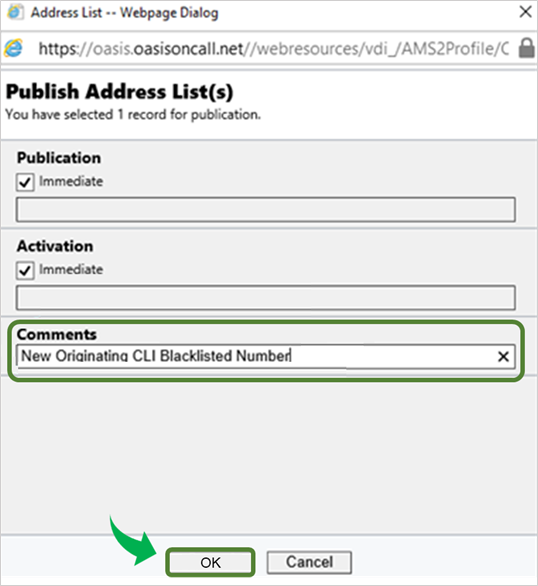
In the Address List window, provide remarks that are relevant to the entry in the Comments field and click the OK button:
-
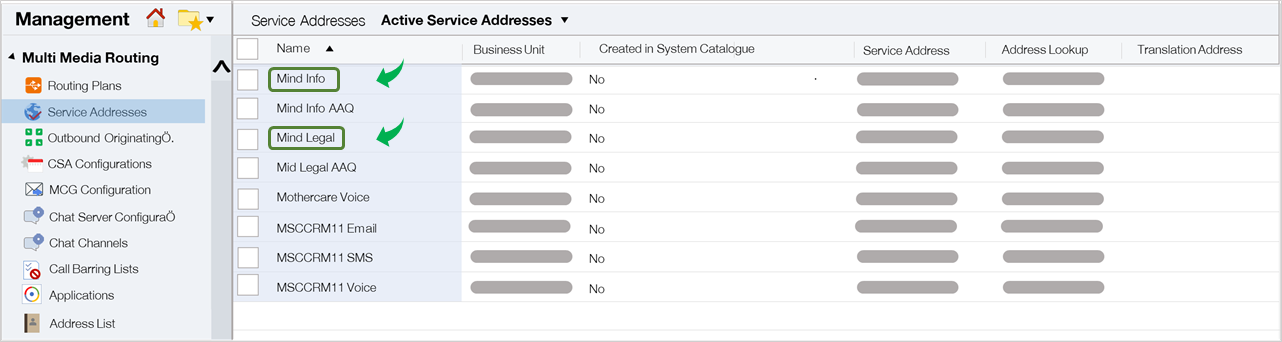
After blocking the CLI in the CNA Blacklist, navigate to Management > Multi Media Routing > Service Addresses. Tick the checkboxes corresponding to the service addresses that you would like to block.
In this example, we are blocking the CLI number for the Mind Info and Mind Legal service addresses:
-
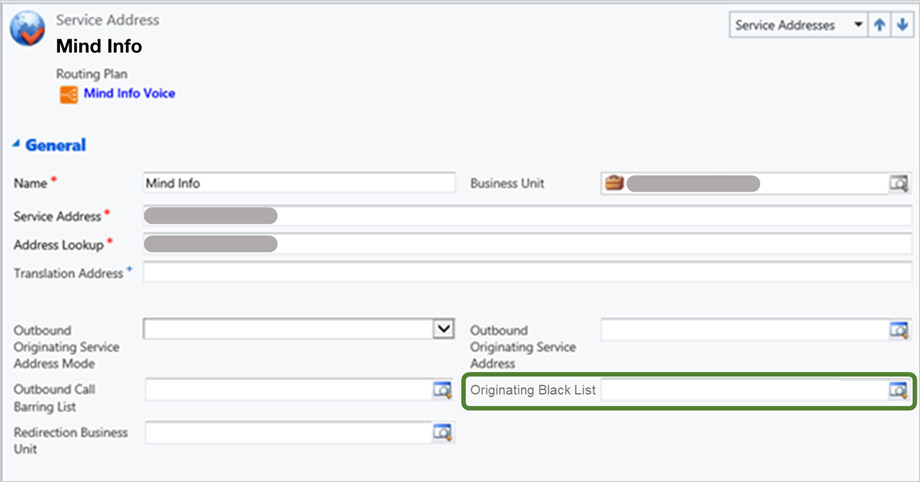
Open each service address and navigate to the Originating Black List field. Click the search icon at the right side of the field and locate the address list you have just created:
Note: If you are only adding a CLI number to an existing blacklist, this step may have been configured previously. This step is required if you are creating a new blacklist for a service.
-
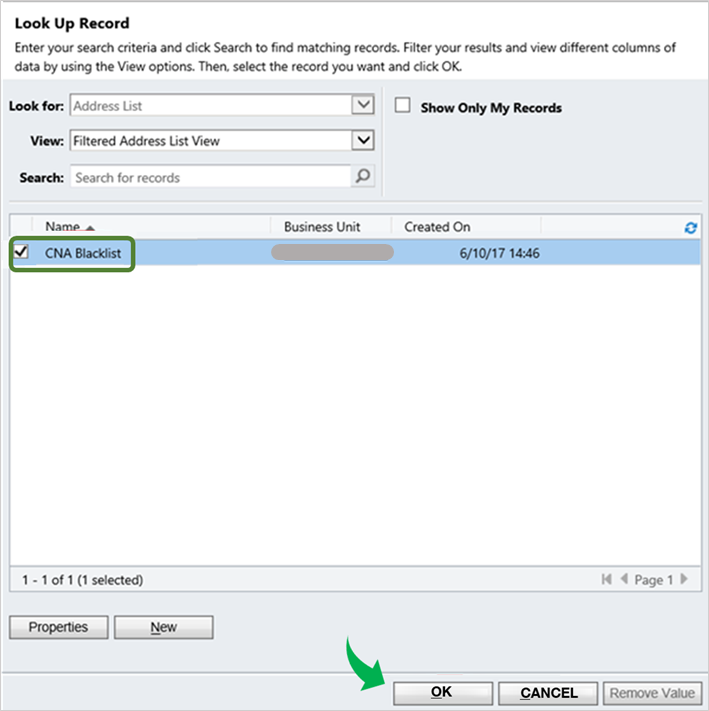
Select the checkbox of the relevant list and click the OK button:
-
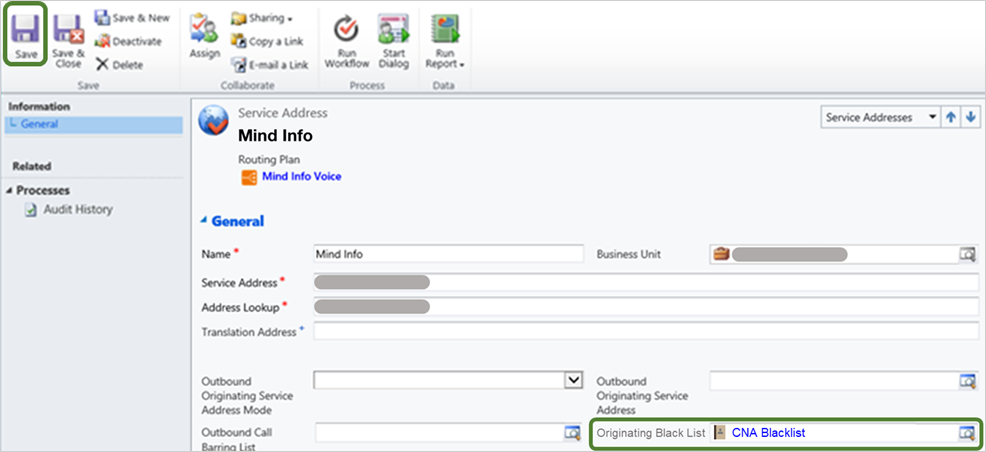
Click the Save or Save & Close icon on the Service Address page after adding the correct originating blacklist:

Verification
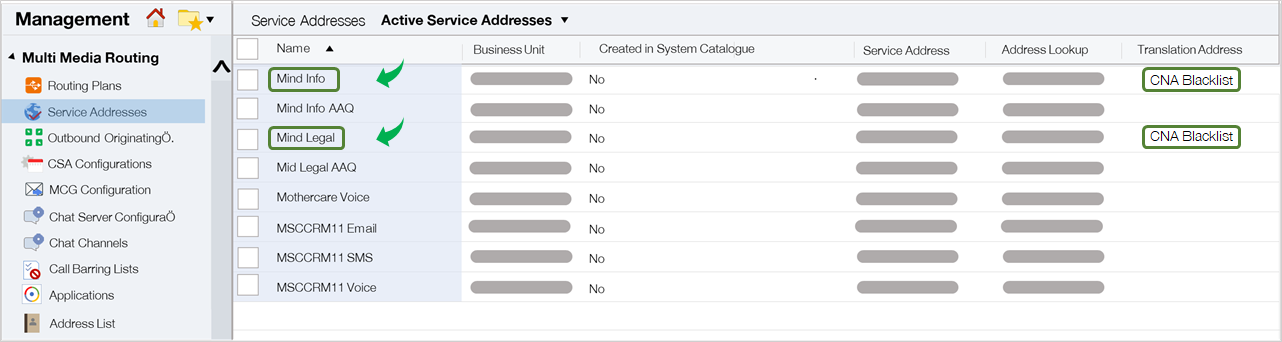
Go to Management > Multi Media Routing > Service Addresses. You should now be able to see that the originating blacklist has been added to your chosen service addresses:
Priyanka Bhotika
Comments