Overview
In order to provide your team members with access to the Zendesk Support Portal, they will each need user accounts created for them. They can do this by themselves on the Skyvera Support Portal by following the instructions below.
Solution
- Navigate to the Skyvera Support Portal.
-
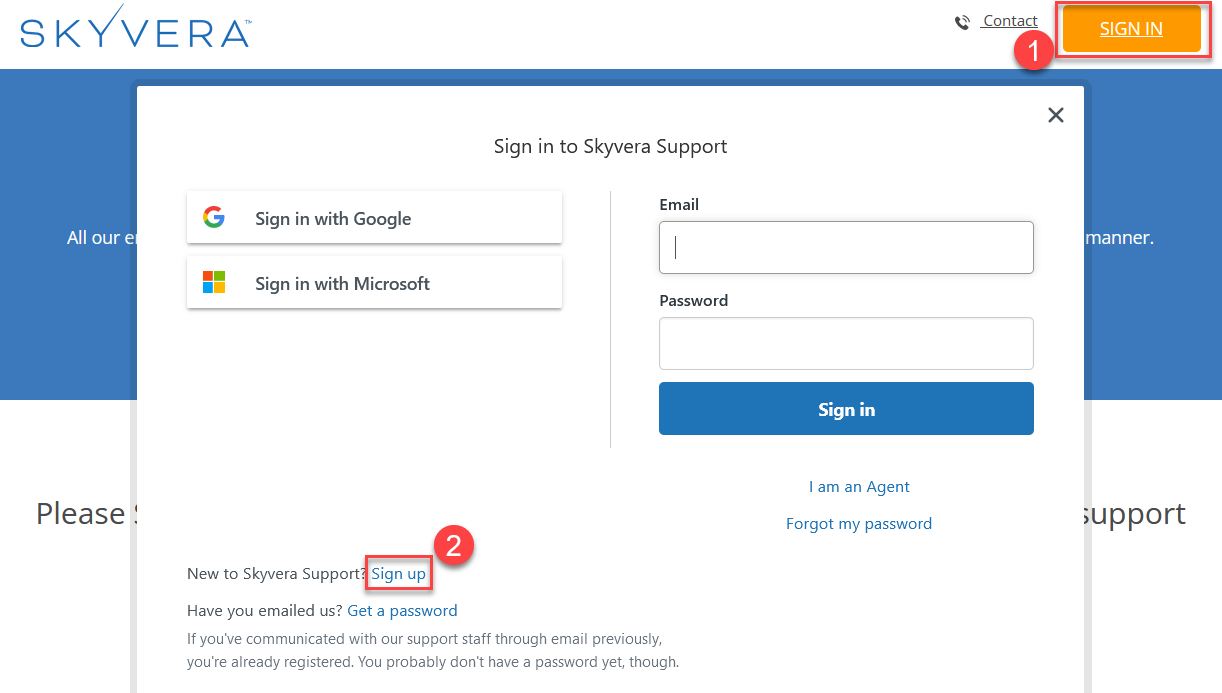
In the top-right corner, click Sign In, then click Sign Up.
-
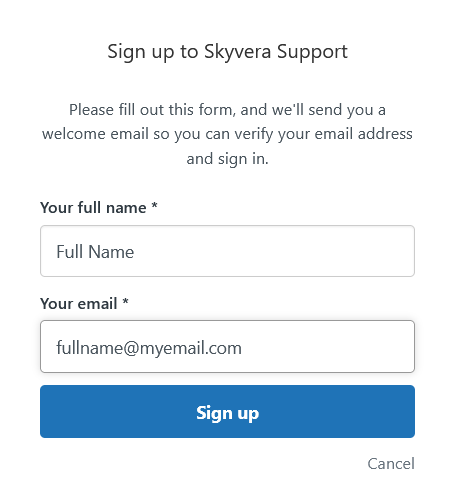
Enter your Full Name and your email address.
-
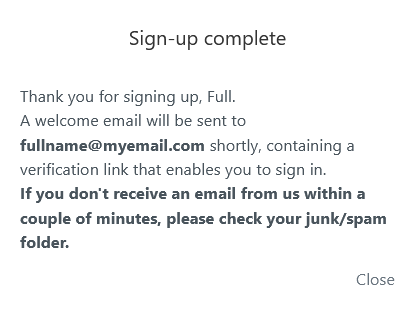
A box will appear confirming your Sign-up is complete and asking you to check your email for a verification link
- Check your email for the verification email. If the email is not found in your Inbox, verify your Junk/Spam folder.
- Click on the link in the email. It will redirect you back to the support portal.
-
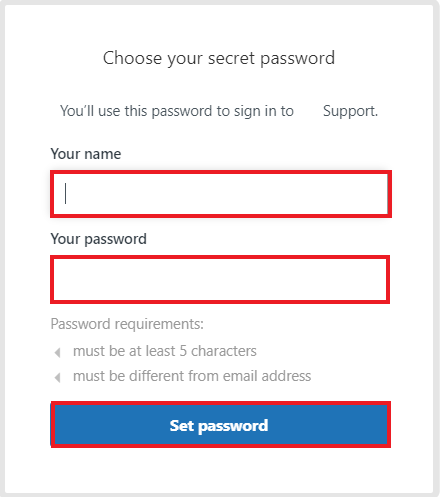
Enter your name (again) and your password. Click on Set password.
Testing
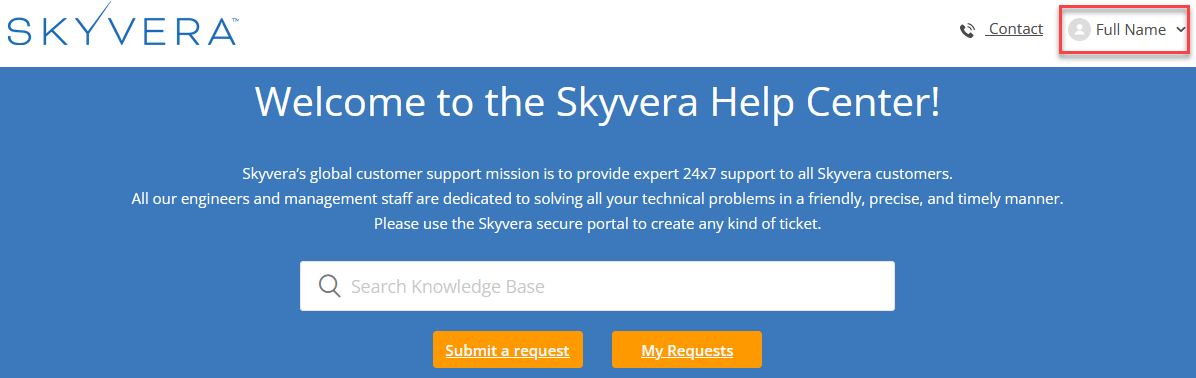
Once complete, you will be signed in to the Skyvera Support Portal and the user name you selected will be displayed in the upper right corner where the sign-in button was. You will now be able to create a support ticket.
<supportagent>
To add a user, please refer to the article Adding a User in Zendesk Support Portal for detailed instructions.
</supportagent>
Priyanka Bhotika
Comments